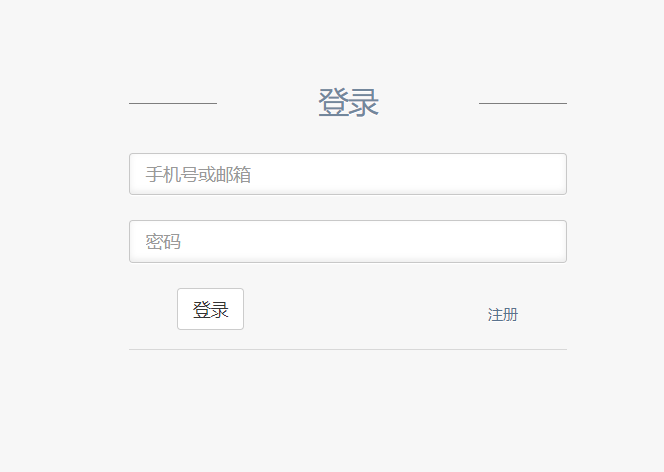
网页登录验证实现
第三方登录/短信验证/邮箱验证
该登录注册基于tp5框架, 短信验证是基于
容联云短信平台接口实现,邮件验证是通过swiftmailer插件实现
1.搭建前端页面
2.创建路由
3.书写注册,登录后台逻辑代码
4.创建验证器validate模块
validata模块使用basicValidate.php作为入口,其余验证器继承实现
1 | <?php |
1 | class registerValidate extends basicValidate |
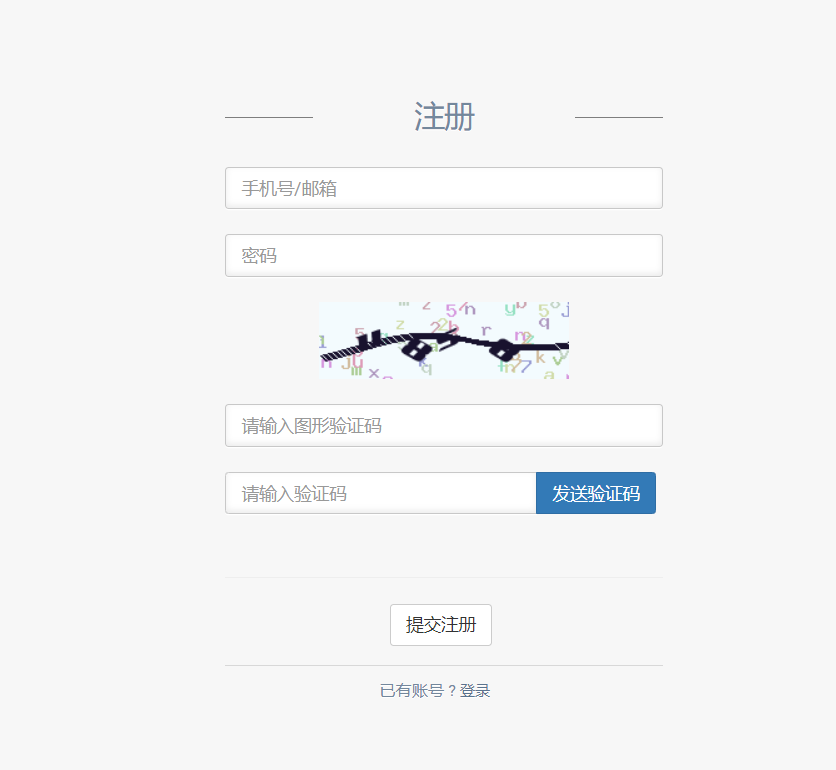
5.注册页面引入图形验证及验证码功能
1.1引入图形验证码功能
- 安装
composer require topthink/think-captcha 1.*
引入页面
<img onclick="this.src='{:captcha_src(1)}?'+Math.random()" src="{:captcha_src(1)}" alt="captcha" />页面ajax验证
1
2
3
4
5
6
7
8
9
10
11
12
13
14
15
16
17
18
19
20function checkCode(){
cap = $('#capCode').val();
$.ajax({
method: 'get',
url: "{:url('index/index/verify')}?code=" + cap +"&id=1",
async : 'false',
dataType: 'json',
success: function (data) {
console.log(data);
if(data){
sendMsg();
}else{
toastr.error('验证码填写出错');
}
},
error: function () {
alert('AJAX1 执行失败');
}
});
}后台验证
1
2
3
4
5
6
7
8
9
10
11
12use think\captcha\Captcha;
/**ajax检测验证码是否正确
* @param $code
* @param string $id
* @return mixed
*/
function verify($code, $id = '')
{
$captcha = new Captcha();
return $captcha->check($code, $id);
}
1.2引入短信验证功能
依据容联云文档引入
REST.php到extend目录页面使用ajax发送短信请求
1
2
3
4
5
6
7
8
9
10
11
12
13
14
15
16
17
18
19
20function sendMsg() {
tel = $('#name').val();
console.log(tel);
$.ajax({
method: 'get',
url: "{:url('index/index/send')}?tel=" + tel,
dataType: 'json',
success: function (data) {
console.log(data);
if (data.statusCode=='000000') {
toastr.success('短信发送成功');
} else {
toastr.error(data.statusMsg);
}
},
error: function () {
alert('AJAX 执行失败');
}
});
}后台处理发送请求
1
2
3
4
5
6
7
8
9
10
11
12
13
14
15
16
17
18
19
20
21
22
23
24
25
26
27
28
29
30
31
32
33
34
35
36
37
38
39
40
41
42
43
44
45
46
47
48
49
50
51
52
53
54
55
56
57
58
59
60
61// ajax请求发送短信
public function send(Request $request)
{
$get = $request->get();
$tel = $get['tel'];
$server = $request->server();
// 获取用户ip
$ip = $server['REMOTE_ADDR'];
$userre = $this->index->checkCount($ip);
if (!$userre) {
$data['statusMsg'] = '同一个ip24小时只能发送10条短信';
$data['statusCode'] ="111111";
return $data;
}
// 生成随机的验证码, 并存储至session
$code = mt_rand(1000,9999);
Session::set('code',$code);
// 提示时间
$time = 10;
$data = [$code, $time];
$result = $this->index->sendSMS($tel, $data, 1);
return $result;
}
/**
* 发送模板短信
* @param to 手机号码集合,用英文逗号分开
* @param datas 内容数据 格式为数组 例如:array('Marry','Alon'),如不需替换请填 null
* @param $tempId 模板Id
*/
function sendSMS($to,$datas,$tempId)
{
// 初始化REST SDK
$rest = new REST('app.cloopen.com','8883','2013-12-26');
// var_dump($rest);die;
$rest->SetAccount('8a216da86a58af8b016a900b55cd1cb3','e4360fc2cfee49f6a5c1cb2c2fab73de');
$rest->setAppId('8a216da86a58af8b016a900b56181cb9');
// 发送模板短信
// echo "Sending TemplateSMS to $to <br/>";
$result = $rest->sendTemplateSMS($to,$datas,$tempId);
if($result == NULL ) {
echo "result error!";
return false;
}
if($result->statusCode!=0) {
// echo "error code :" . $result->statusCode . "<br>";
// echo "error msg :" . $result->statusMsg . "<br>";
//TODO 添加错误处理逻辑
return $result;
}else{
// echo "Sendind TemplateSMS success!<br/>";
// 获取返回信息
// $smsmessage = $result->TemplateSMS;
// echo "dateCreated:".$smsmessage->dateCreated."<br/>";
// echo "smsMessageSid:".$smsmessage->smsMessageSid."<br/>";
//TODO 添加成功处理逻辑
return $result;
}
}注意: 默认echo发送的消息可能干扰前端判断发送状态,推荐全部注释, 前端根据返回的statusCode和statusMsg来做做自己的逻辑
上线时注意要将
extends目录中的ignore文件删掉 , 不然上传不到git
1.3引入邮件验证功能
- 安装swiftmail
composer require "swiftmailer/swiftmailer:^6.0"
前台ajax请求发送邮件
1
2
3
4
5
6
7
8
9
10
11
12
13
14
15
16
17
18
19
20
function sendMail(){
mail = $('#name').val();
//console.log(mail);
$.ajax({
method: 'get',
url: "{:url('index/index/sendMail')}?mail=" + mail,
dataType: 'json',
success: function (data) {
console.log(data);
if (data==1) {
toastr.success('确认邮件发送成功');
} else {
toastr.error('确认邮件发送失败');
}
},
error: function () {
alert('AJAX 执行失败');
}
});
}后台处理请求
1
2
3
4
5
6
7
8
9
10
11
12
13
14
15
16
17
18
19
20
21
22// ajax请求发送邮件
public function sendMail($mail)
{
$transport = new \Swift_SmtpTransport('smtp.163.com', 25); // 邮箱服务器
$transport->setUsername('xxx@163.com') // 邮箱用户名
->setPassword('abc123456'); // 邮箱密码,有的邮件服务器是授权码
$code = mt_rand(1000,9999);
Session::set('code',$code);
$mailer = new \Swift_Mailer($transport);
$message = (new \Swift_Message('您的验证码如下:'.$code)) // 邮件标题
->setFrom(['xxx@163.com' => 'xxx有限责任公司']) // 发送者
->setTo([$mail => '用户']) //发送对象,数组形式支持多个
->setBody($code); //邮件内容
$result = $mailer->send($message);
return $result;
}
有许多网上的教程都是使用require_once来加载autoload文件, 通过composer安装后, 插件在/vendor文件夹下,不需要require/include 即可使用. 但在new的时候需要加 \ .
上线后由于阿里云服务器默认封禁25端口,就算在规则配置打开也没作用, 使用465端口, encryption 改用 ssl ,之后邮件服务才能正常实现
6.第三方登录实现
1.微博
https://www.bilibili.com/video/av14869349/?p=2
1.前往微博开放平台注册开发者,创建应用,获取api key和secret
2.https://open.weibo.com/wiki/SDK 下载SDK
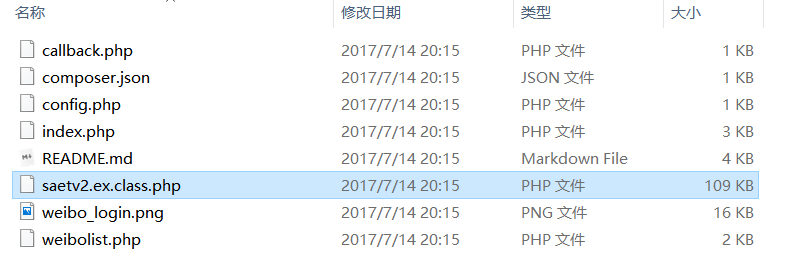
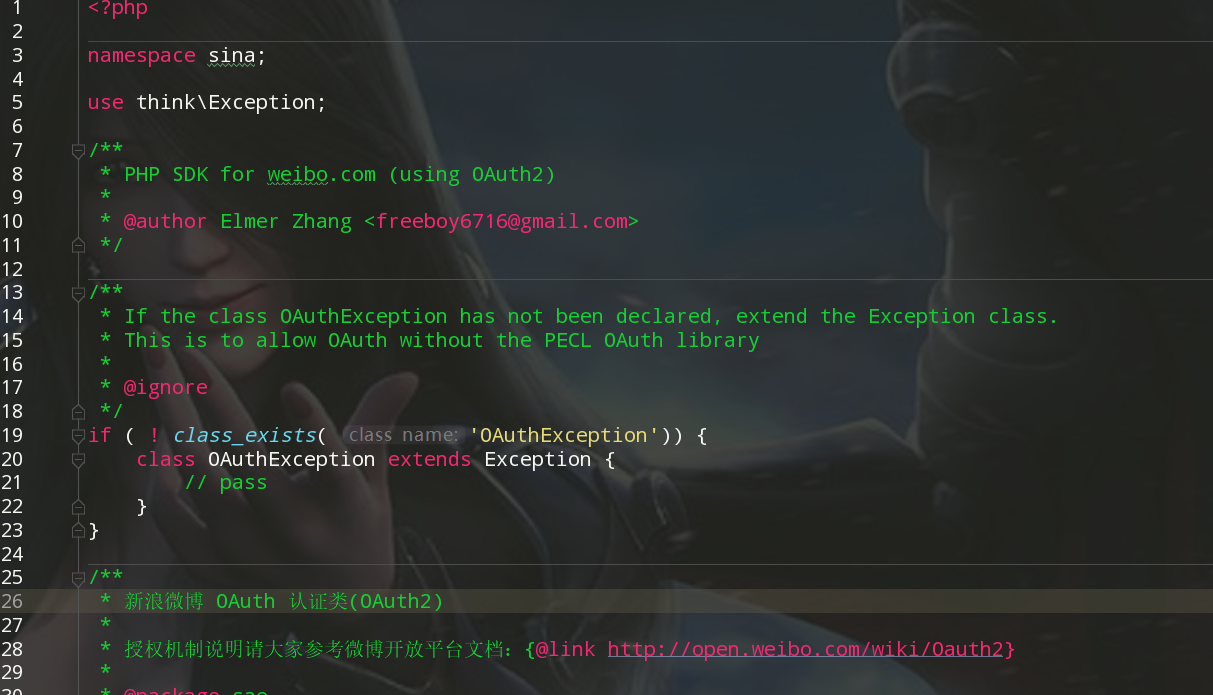
3.拆分基础类, 放在vendor/sina/目录下, 符合tp5的命名规范
[SaeTClientV2.php] 和 [SaeTOAuthV2.php]

4.配置文件定义常量key/secret: 将其放在public/index.php 中
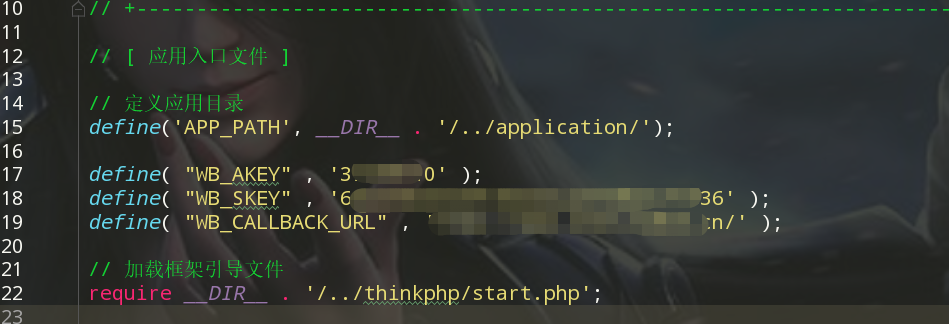
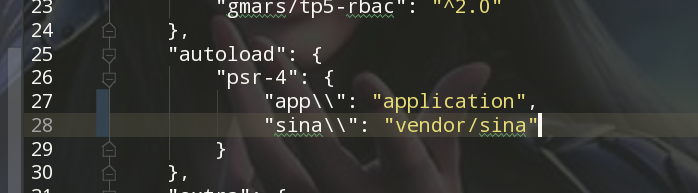
composer.json中写入sina路径, 执行composer dump-autoload
5.在调用微博登录的页面声明模板变量
1 | use sina\SaeTClientV2; |
页面上应用该变量

6.写接受回调函数
1 | public function callback() |
7.铺设回调页面,获取当前用户信息,处理登录注册逻辑
1 | public function findUser() |
2.qq
1.在 QQ互联 注册开发者账号,
2.创建应用,
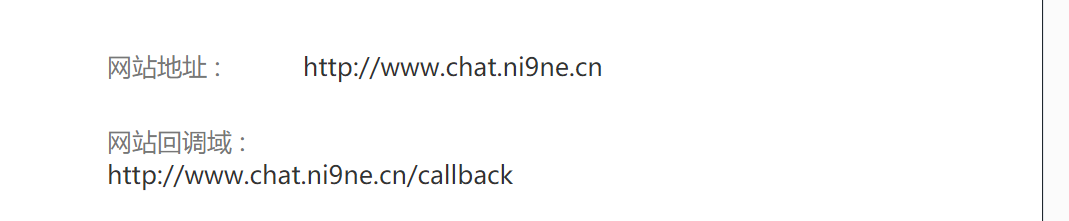
审核通过后获取APPid 和 APPkey, 回调地址
3.下载PHP sdk开发包
SDK下载
4.配置
在wamp环境运行D:\wamp\www\Connect2.1\index.php 并配置
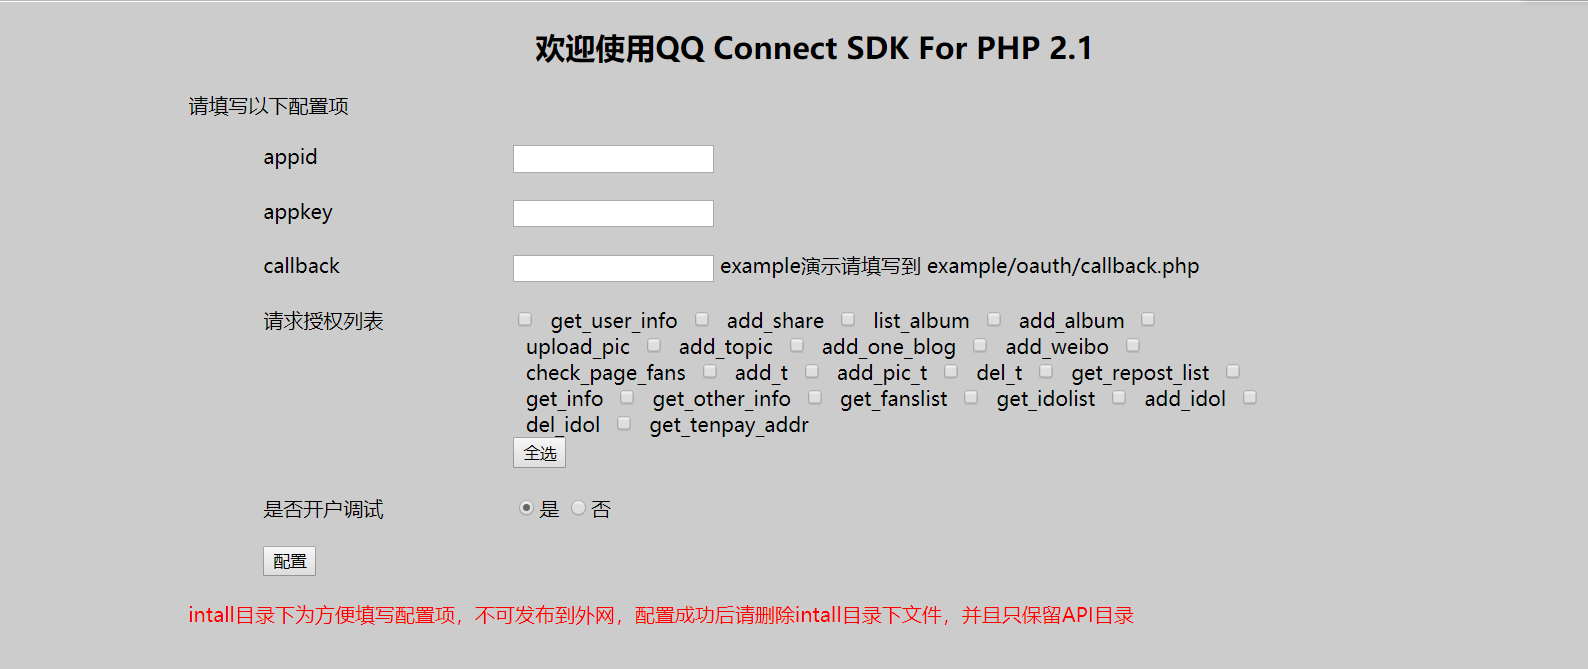
配置完成后会生成
API/comm/inc.php文件, 有用
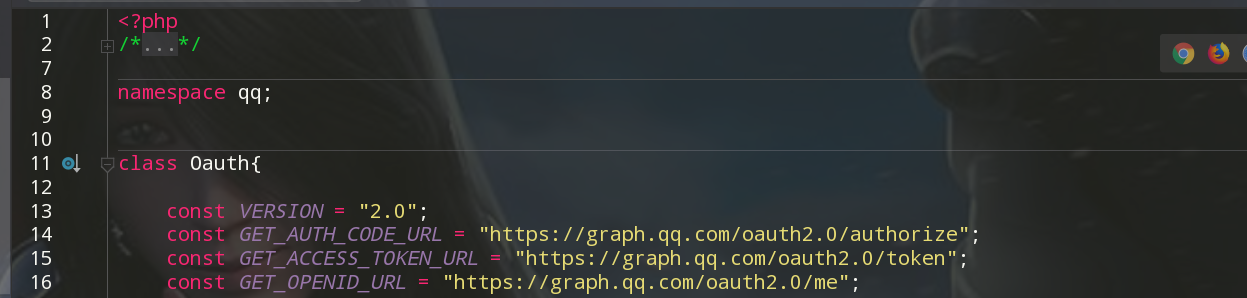
5.修改类文件
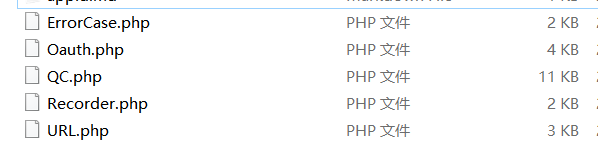
将Connect2.1\API\class中的五个php类文件按照TP5的命名方式改造后放入TP5extend/qq文件夹
1 | - 添加namespace |
6.应用
1 | use qq\QC; |

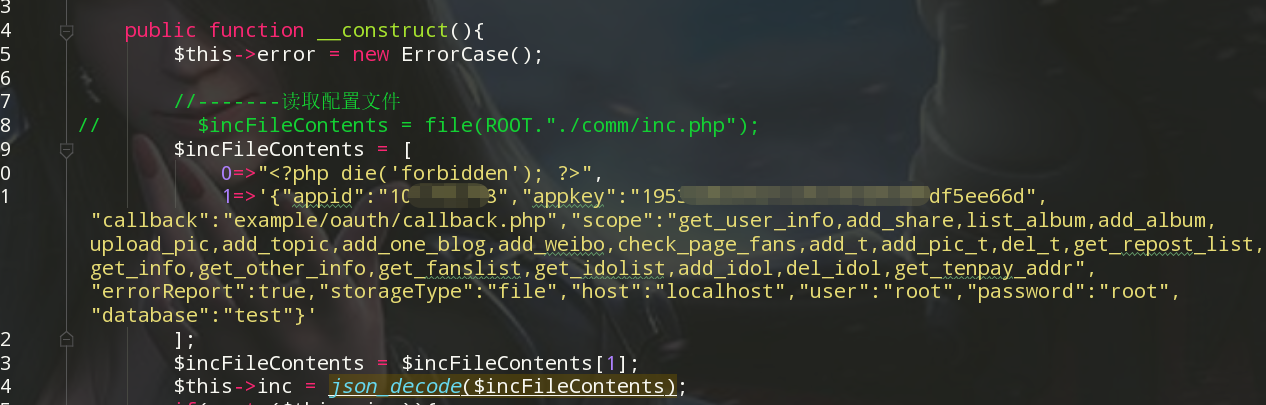
7.报错处理
1.使用后点击报错,未定义的ROOT常量, 查看源码 , 可以看出该处是读取我们开头配置生成的comm/inc.php配置文件, 我们直接将其内容赋予Recorder类


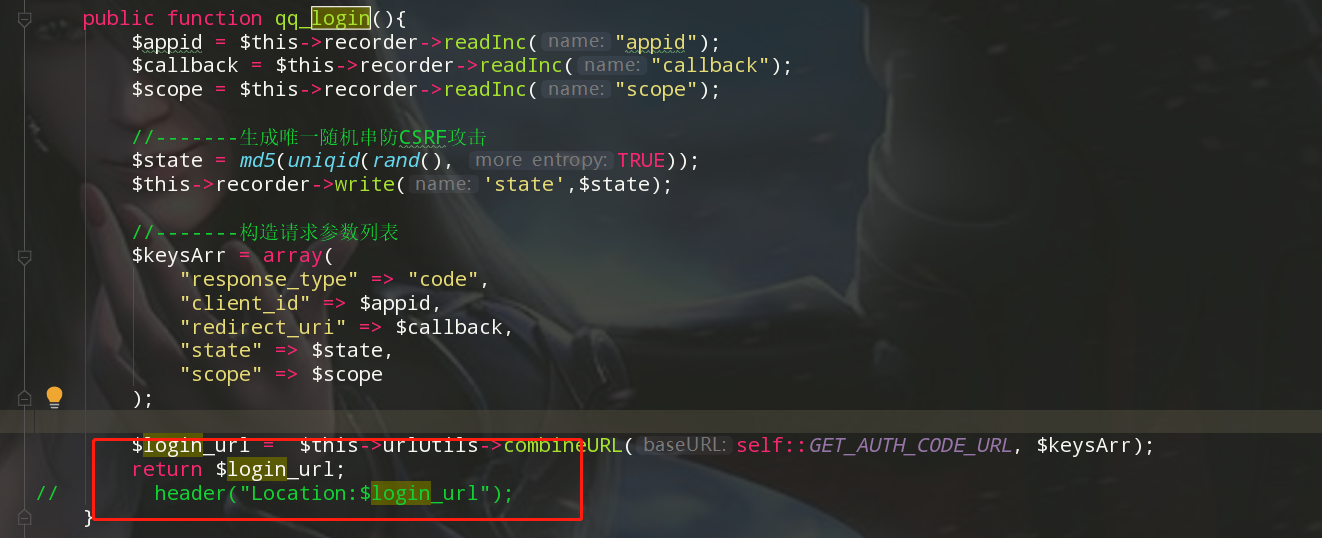
2.点击按钮不跳转, 查看源码发现,qq_login方法是直接重定向到指点登录网址, 而不是返回url, 修改之
8.处理回调
3.微信
7.支付
1.支付宝
2.微信支付:
用户提交订单,
商户服务器接受信息, 向微信服务器发送请求订单详情信息+商户信息(含回调)
微信服务器返回商户服务器一段字符串
商户利用qrcode生成二维码, 供用户扫码支付
用户扫码, 请求微信服务器完成订单支付
微信服务器返回支付成功或支付失败信息给商户服务器回调地址(异步)